A step by step guide to installing a Daystar Cam Can
How long will it take?
Daystar’s Cam Cans are an aftermarket solution to the lack of storage space on Jeeps and ATVs. Using this step-by-step guide and a few common tools, this installation shouldn’t take more than 20 minutes. If you’d rather watch over reading, here’s a video we made showing the process.
Tools required for the job
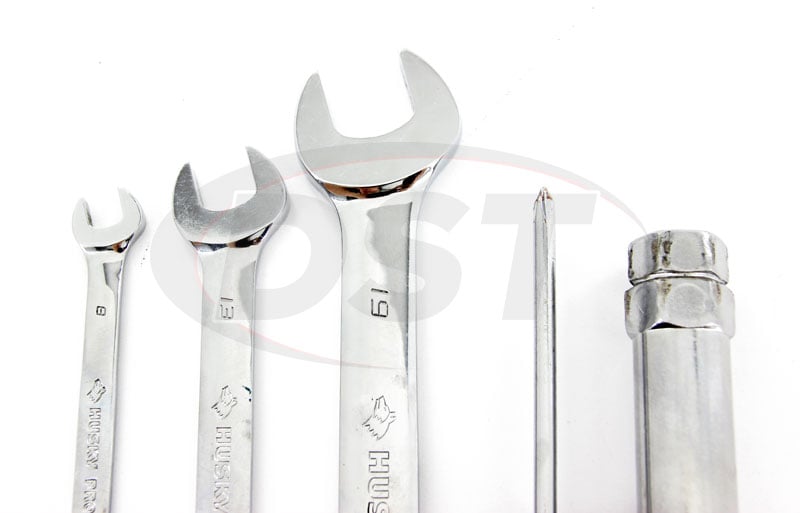
In order to install the Cam Can quickly and efficiently, you’ll need these tools:
- 8mm wrench
- 13mm wrench
- 19mm wrench
- Phillips-head screwdriver
- Tire wrench
Step One
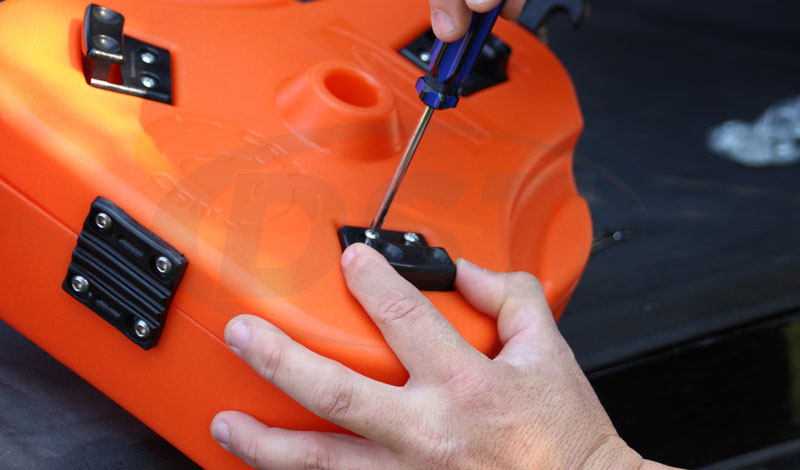
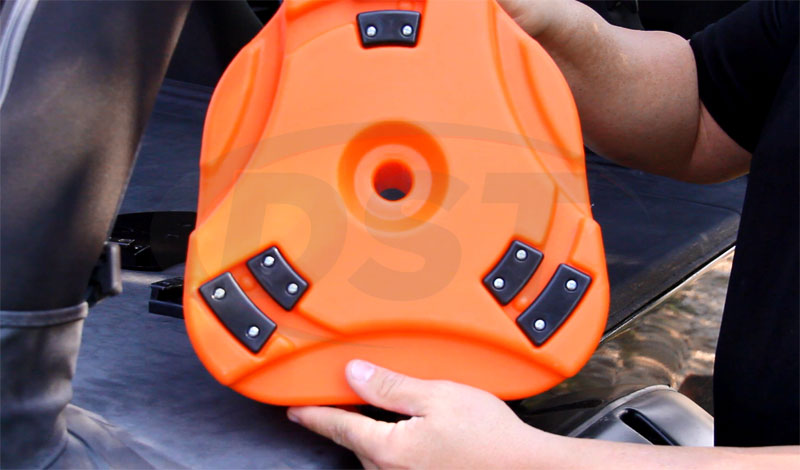
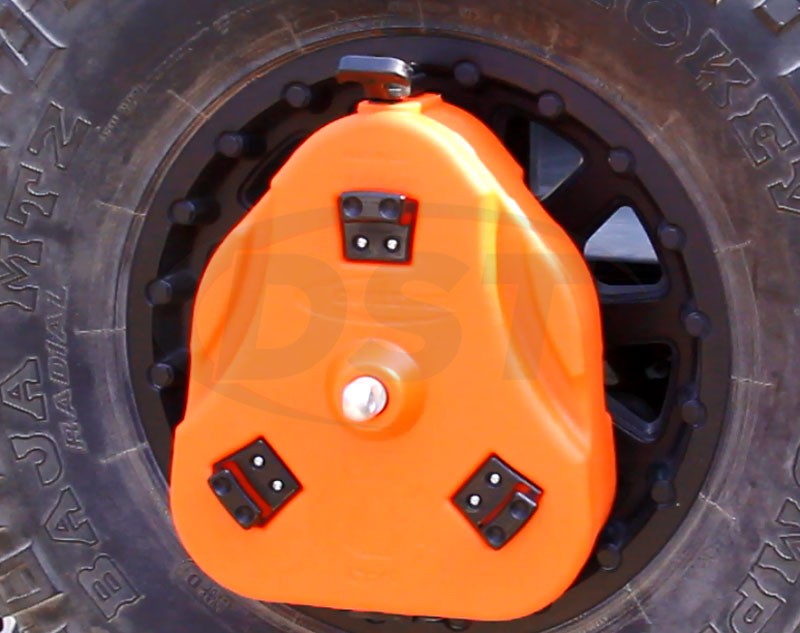
First, using a phillips-head screwdriver install the provided mounting hardware onto the front and back of your Cam Can. There are three brackets for the front, and six brackets for the back, each is secured with two small screws. These brackets will be responsible for locking your Cam Can to the vehicle mounting plate, so make sure those screws are snug.
Step Two
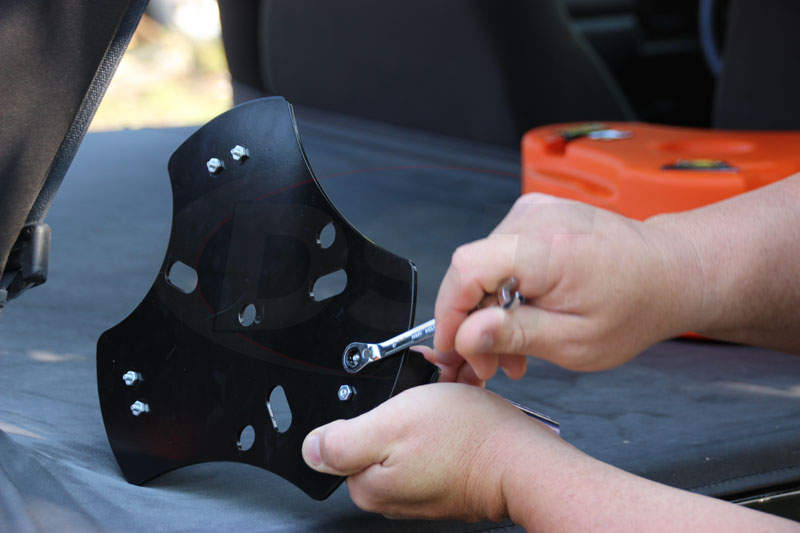
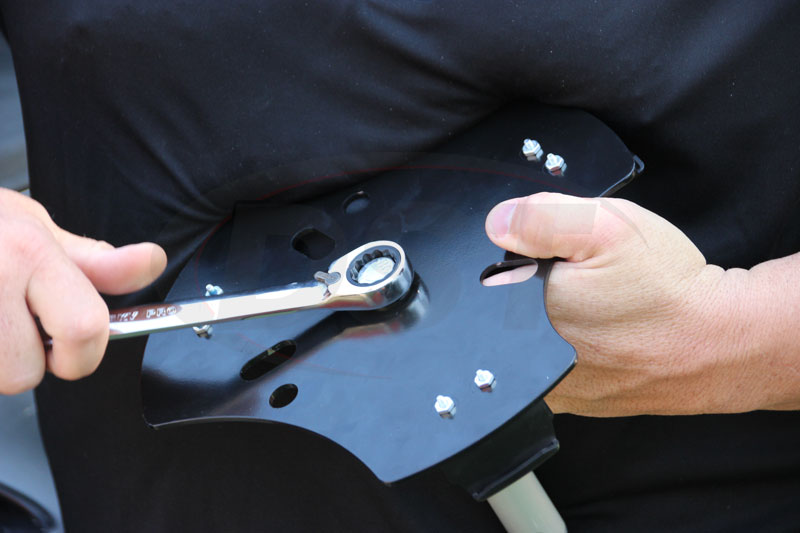
Next, install the three remaining brackets onto the vehicle mounting plate with the six screws and six nuts that are provided. Using the same phillips-head screwdriver and an 8mm wrench, hold the 8mm nut in place and tighten the screws down. Just like the brackets on the Cam Can itself, these will be holding your container in place so make sure those screws are tight.
Step Three
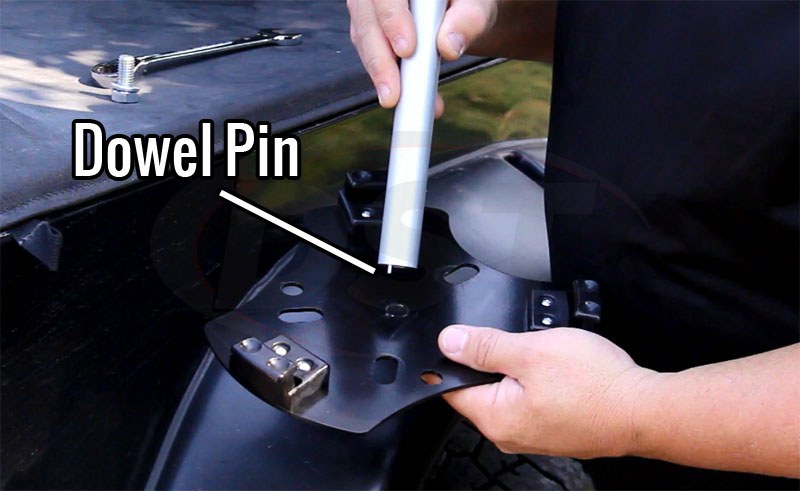
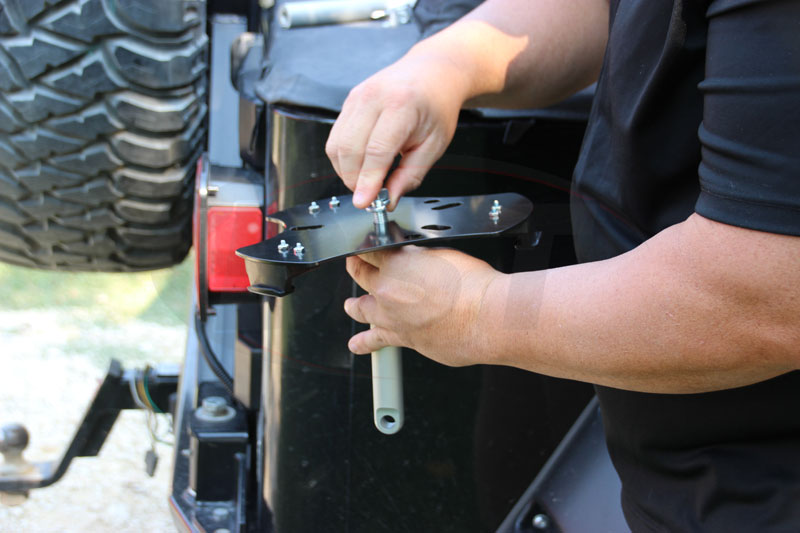
After the brackets are secure, attach the aluminum center pole to the mounting plate by lining up the dowel pin and tightening down the provided 19mm bolt and lock washer. The dowel pin is designed to be a little long in order to help keep the center pole aligned during install. It should press into the center pole as you tighten down the nut. (If it’s being stubborn you can press it in beforehand to keep it from hindering your progress.)
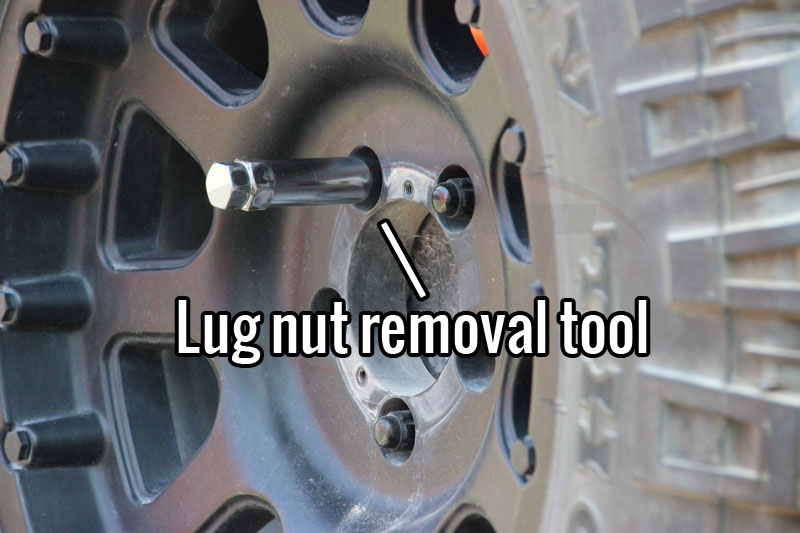
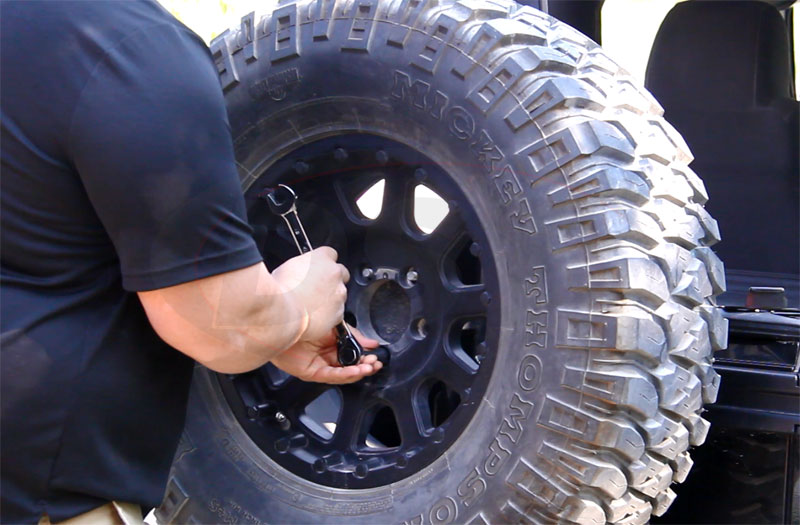
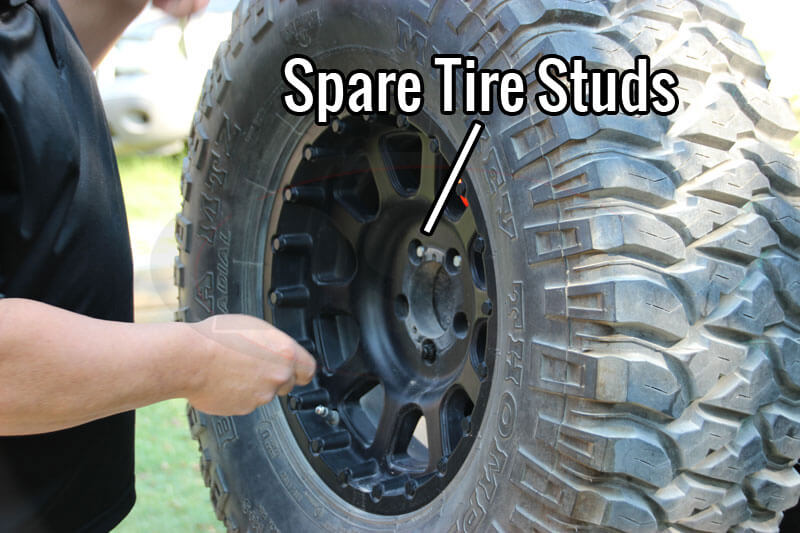
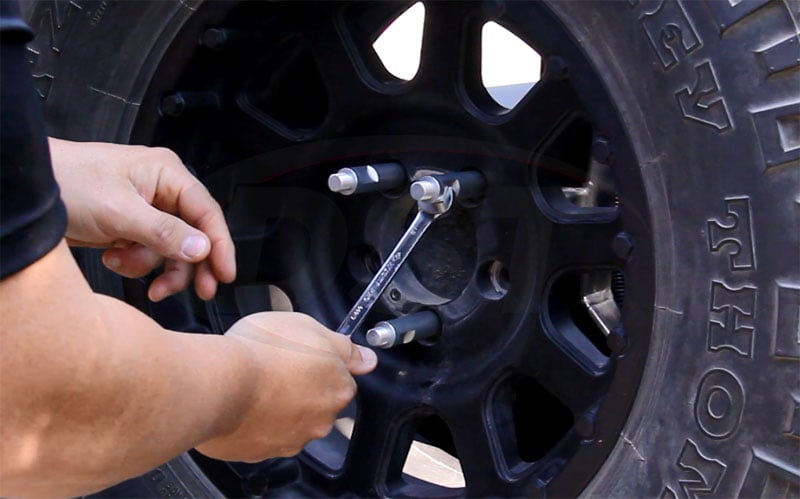
Step Four
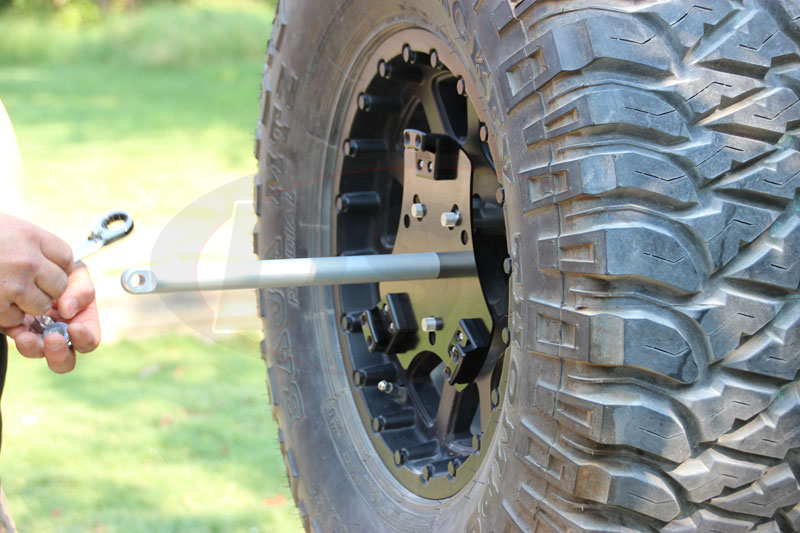
Remove the lug nuts holding your spare tire with your Jeep’s tire wrench. As you remove each lug nut add one of Daystar’s stud extenders to the bolt by simply threading it on by hand. The extenders have notches designed for a 13mm wrench so you can get them good and tight.
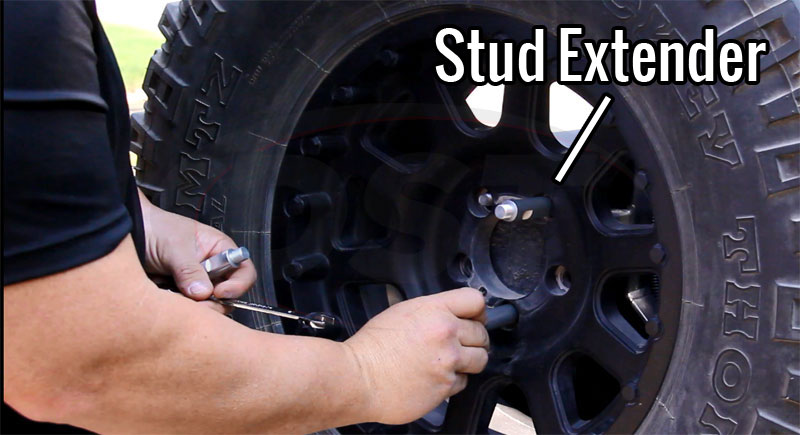

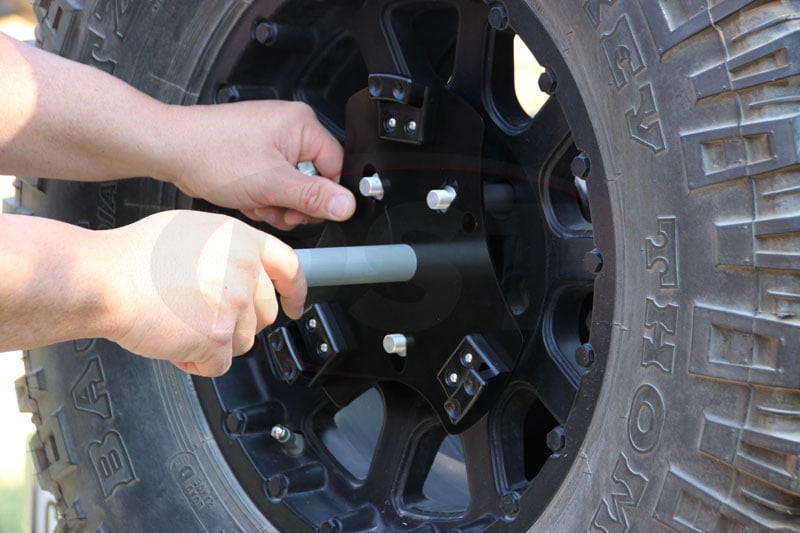
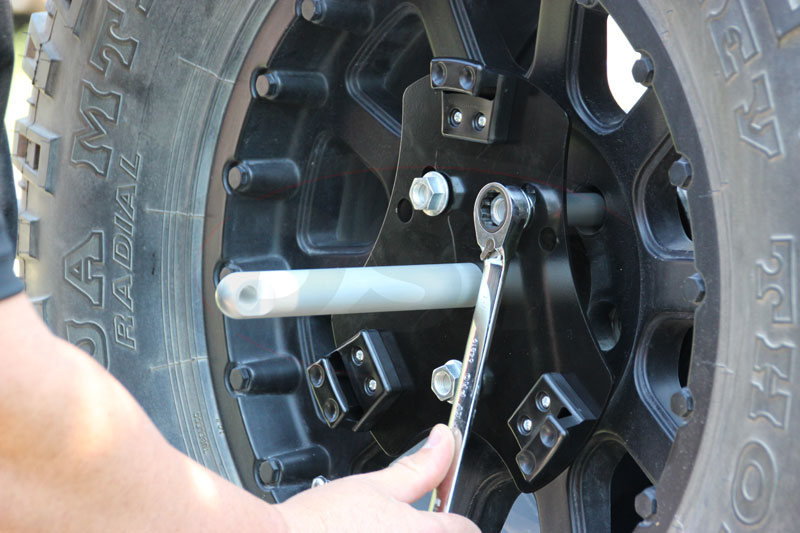
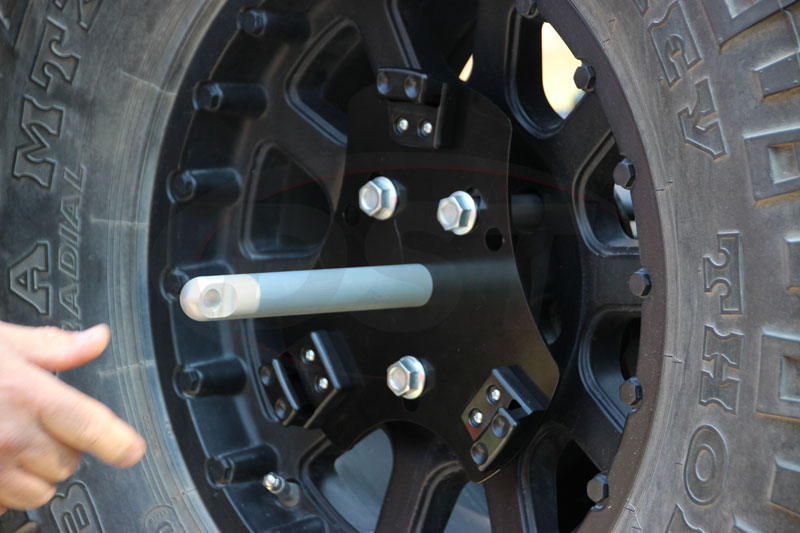
Step Five
Slide the assembled Cam Can mounting plate onto the stud extenders and secure it using the provided 19mm nuts.
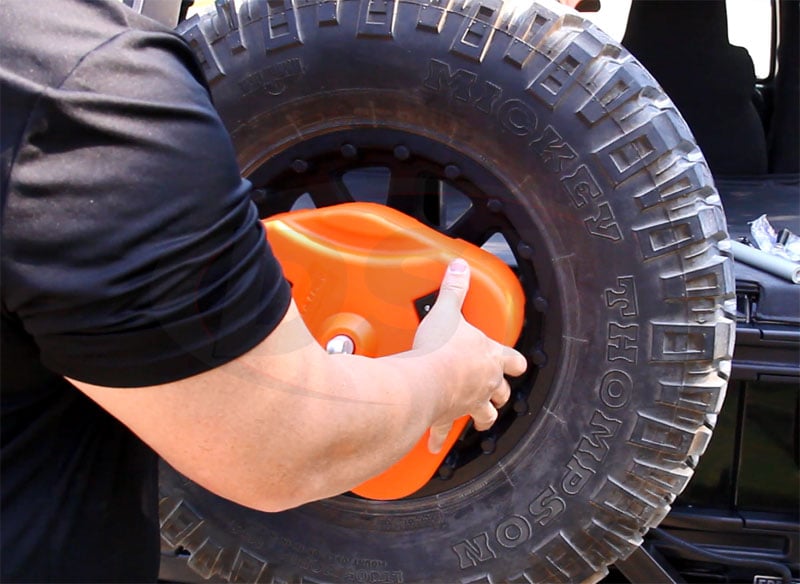
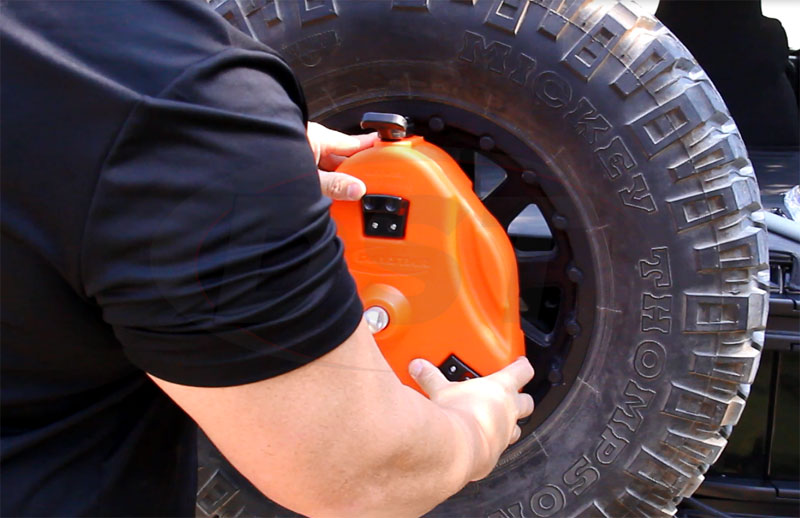
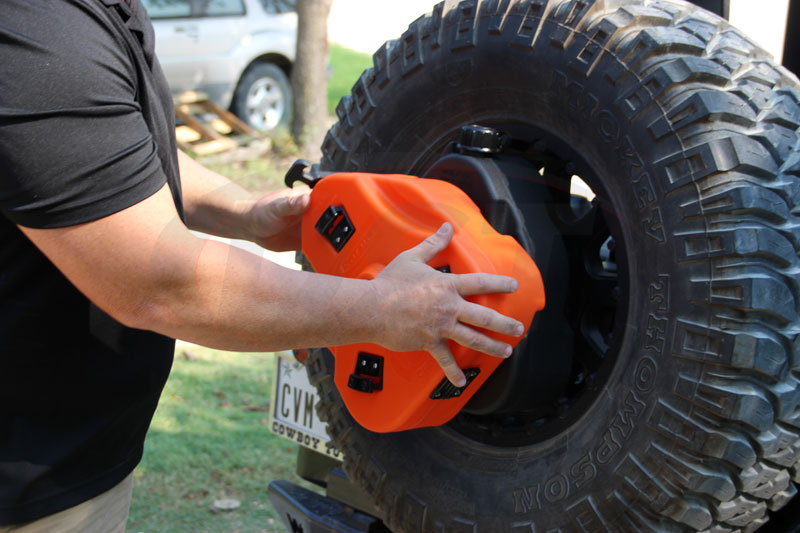
Step Six
All that’s left is to slide your assembled Cam Can onto the center pole and lock it into place by pressing it in and turning it clock-wise.
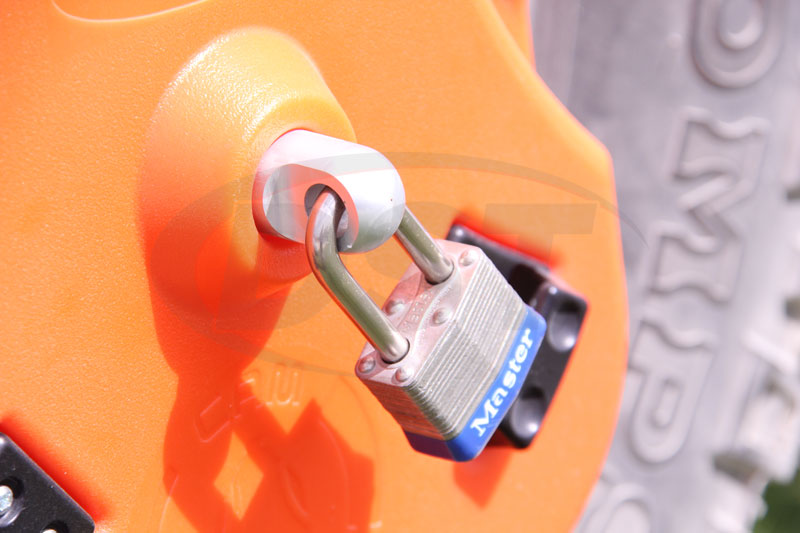
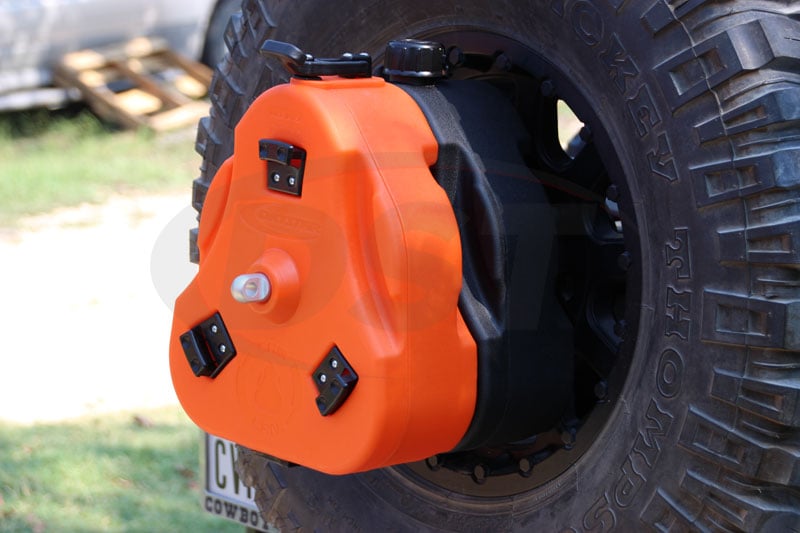
Adding security to your Cam Can
Worried someone might try to steal those fluids or your nosy neighbor will try to see what you’re storing? Daystar designed the aluminum center pole with a gap near the end. This gives you the option of adding a lock to keep your stuff safe.
Stacking your Cam Cans!
The Cam Cans are also stackable and adding an extra container doesn’t take any extra work. Just use Daystar’s extended aluminum center pole, KU71116 , and follow all the same steps. All Cam Cans are designed to lock to each other the same way they lock to the mounting plate. Lock them all together and now you have twice the space!
What can each Cam Can contain?
Daystar currently offers several different Cam Cans, each with their own color and recommended use:
-
The Cam Can with mounting hardware:
- Black: For Non-Flammable liquids
- Green: For additional Non-Flammable liquids
- Orange: Multi-Purpose container
- Grey: Used to transport drinking water (BPA Free)
- Black: For Non-Flammable liquids
- Green: For additional Non-Flammable liquids
- Orange: Multi-Purpose container
- Grey: Used to transport drinking water (BPA Free)
The Cam Can without mounting hardware: