unarchive In The Box of kdt918 keyboard_arrow_down
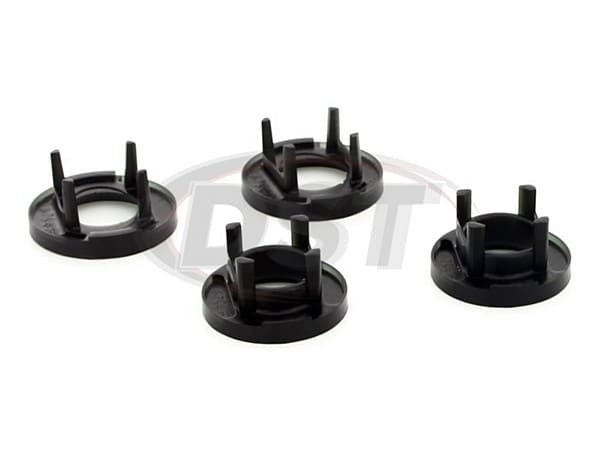
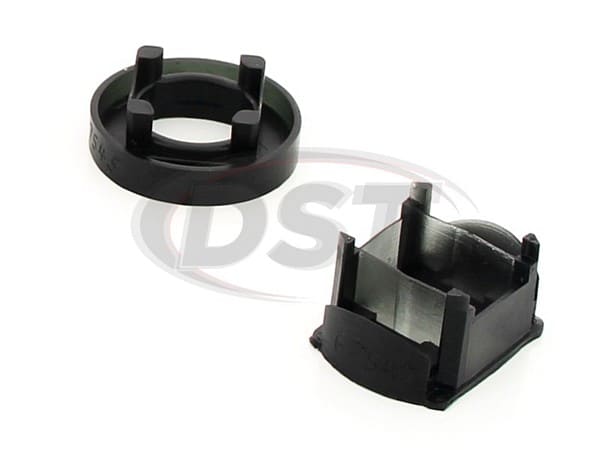
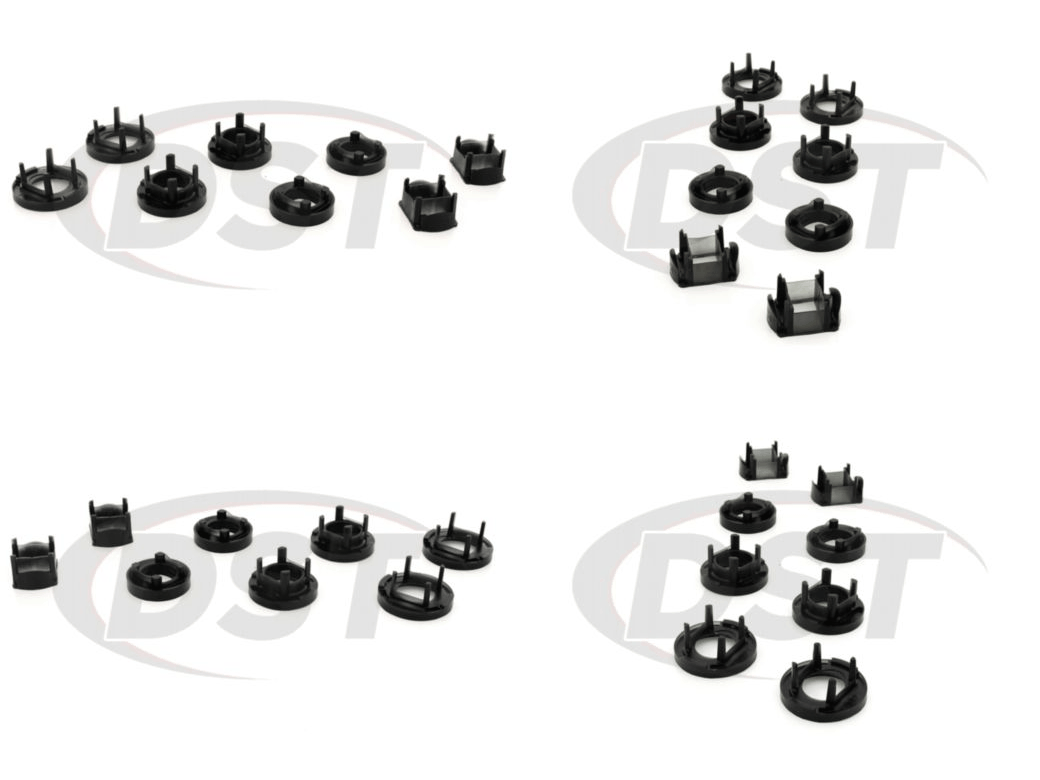
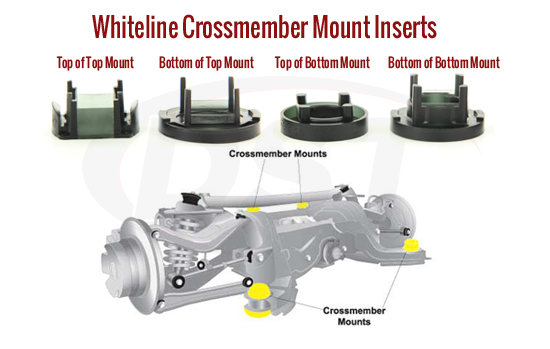
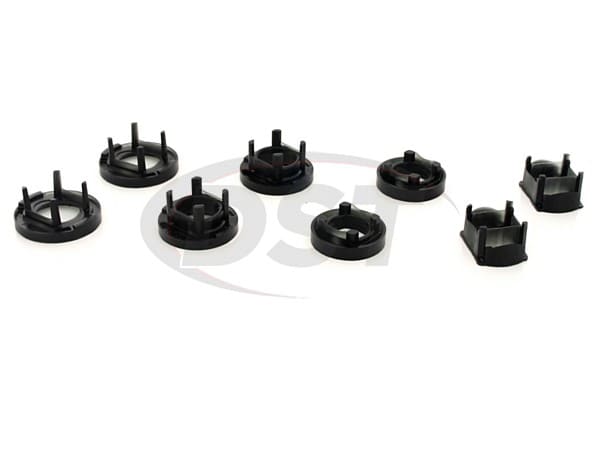
- 2 of 67547 - Top Insert of Top Mount
- 2 of 67548 - Bottom Insert of Top Mount
- 2 of 67545 - Top Insert of Bottom Mount
- 2 of 67546 - Bottom Insert of Bottom Mount
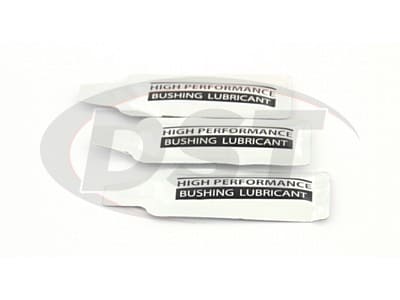
- 2 of Grease
lock Warranty Information keyboard_arrow_down
- WHITELINE bushing kits with part numbers from W00001 to WZZZZZ and KSK000 to KSKZZZ (Bushing Kits) are covered for their lifetime.
WHITELINE performance products include sway bar/ anti-roll-kits (excluding installation components) and bracing and alignment kits with part numbers from BAF000 to BZZZZZ, KCA000 to KCAZZZ, KSB000 to KSBZZZ, KLC000 to KLCZZZ and KDT000 to KDTZZZ (Performance Products) are covered for 3 years from the date of original installation.
Whiteline BMW Rear Crossmember Mount Inserts KDT918
The original rear cross member on these BMW has heavily voided factory mounts. The voids in the stock mounts have been known to cause so much excess lateral cross member movement that passenger motion sickness has become an issue. We here at DST are pretty sure that you bought your BMW for its style and class, not to make your passengers sick. Fortunately for you, and your passengers, Whiteline has designed the KDT918 specifically to address this problem. These synthetic elastomer inserts will help eliminate that rocking and also reduce wheel hop! The inserts act as a filler, inserting directly into your existing mounts making for an easy installation. Both the front and rear mounts are included, along with a detailed instructions sheet and a sticker!
Product Reviews for Rear Crossmember Bushings - BMW 335i - kdt918
- 5 Star (10)
-
-
- 91%
-
- 4 Star (0)
-
-
- 0%
-
- 3 Star (1)
-
-
- 9%
-
- 2 Star (0)
-
-
- 0%
-
- 1 Star (0)
-
-
- 0%
-
Whiteline kdt918
starstarstarstarstar" Review 2 Years Later "
Still working fine.
verified_user Verified Buyer - Teddy Yu - . Whiteline kdt918 - 5 out of 5starstarstarstarstar" Easy install, everything works as advertised "
Much cheaper alternative to actual m3 rear sub frame bushings.
verified_user Verified Buyer - Mark McCarthy - . Whiteline kdt918 - 5 out of 5starstarstarstar_borderstar_border" fake reviews do not make me happy, good product though. "
I havent installed these yet, but Im giving it a 3 because of two reasons (a) you should replace the bolts so it should cost another 50 dollars (b) these reviews are obviously fake. Editors Note: All of our reviews are from customers. Good or Bad. The only editing is for language. DST does not delete the bad reviews. When we do receive a bad review we contact the customer through email if possible to address the issue.
verified_user Verified Buyer - Kyle D - . Whiteline kdt918 - 3 out of 5starstarstarstarstar" Great product "
The car feels great. I noticed that the rear end is planted and follows the front.\nThis should had been my first suspension upgrade.
verified_user Verified Buyer - Manuel Mota - . Whiteline kdt918 - 5 out of 5DST's DIY Installation for KDT918 Whiteline
BMW 1 Series E81, E82, E87, E88 and 3 Series E90,E91,E92, E93
Need help installing your new rear crossmember mount inserts? (Whiteline part number KDT918) Here's a DIY for Whiteline part number KDT918 - Thank you Victor Hall for providing DST with this content!
Here's the tools you will need:
- E18 female torx
- 16mm ratcheting crescent wrench (optional)
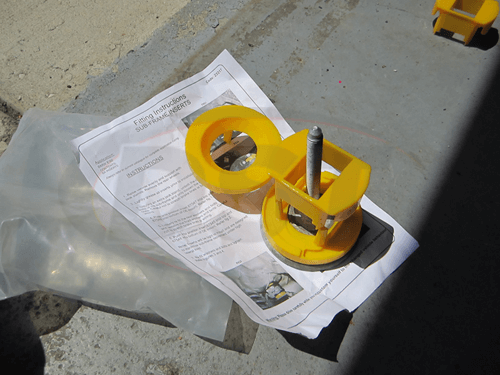
Here is Whiteline part number KDT918 before install. This is the rear pair with a subframe bolt sticking through to show approximately how they sit when installed. I think I actually got them rotated 90 degrees out, but you get the general idea. The extra single piece on the top left is the other side rear bottom insert turned bottom up.
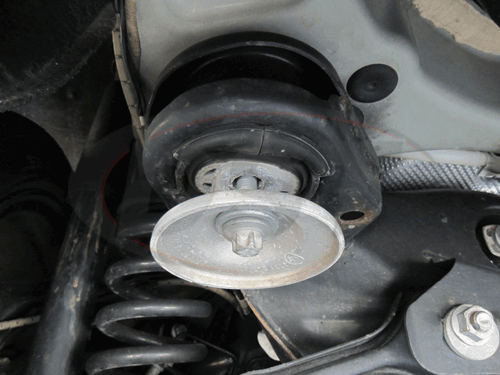
Step 1
- To get started, chock your front tires, lift the rear of the car with your jack on the differential. Put your jackstands in place. If you don't have any I suggest getting some BMW jackstand adapters.
- Take off the rear tires, it will make life a LOT easier especially if you have no lift.
- Leave the jack in place under the differential as it will keep load off the subframe bolts. Take out the two rear subframe bolts with an E18 bit (18mm female torq). They should come out by hand after you get them started.
Step 2
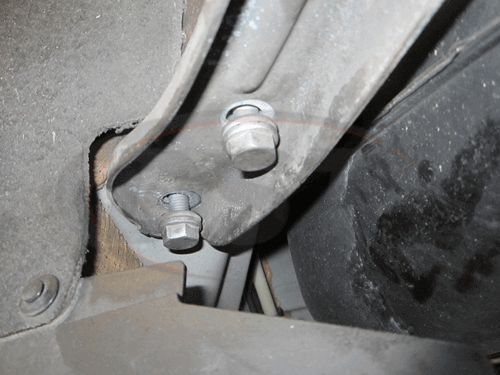
- Back to the front, you'll have to take two 16mm bolts out of an extra diagonal bracket that connects the front of the subframe to the chassis. The bolts are hidden and hard to get to. You can use a 16mm crescent wrench or take some of the plastic off. This is immediately in front of the rear tire.
I think you really need to fully remove them to get enough droop to fit the inserts in.
Step 3
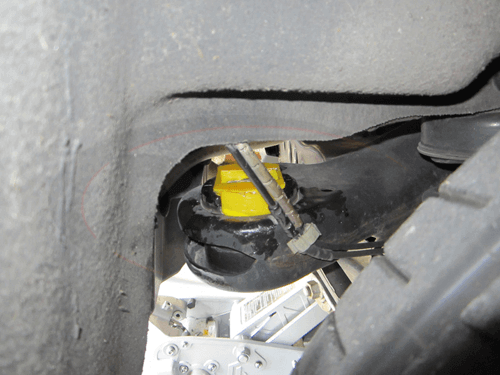
- Once those two bolts are out on each side, loosen the front subframe bolts. You'll need an extension to fit up into the mount bracket. Same E18 bolt head as the rear subframe bolts. I'd loosen them all the way then put them back about 3-4 full turns. With a jack under the rear, you might be able to just remove them, but I left them in place to help keep the subframe aligned.
Step 4
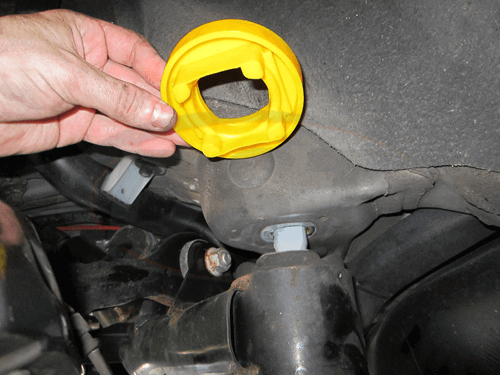
- Once both sides are in, grease up the rear lower, push it in (there are "keys" on the bottom outside edge that match up with the subframe so you can rotate it correctly). Jack the diff back up so you can get the rear subframe bolts back in 3-4 full turns on both sides.
- Back to the front mounts, fully remove the subframe bolts. Lower the jack off the differential. There should be just enough room to slide in the inserts. I started with the top. This one was tricky to correctly align. I believe the skirts go front and back, and the block that hide under the rim go to the sides.
- Again, grease them up, and you'll have to kind of jam them in. Be very careful that the fingers do not get bent over. Make sure then go straight into the bushing. I had to jam them in a bit due to clearance as the front of the subframe doesn't like to sag enough to make it easy.
Step 5
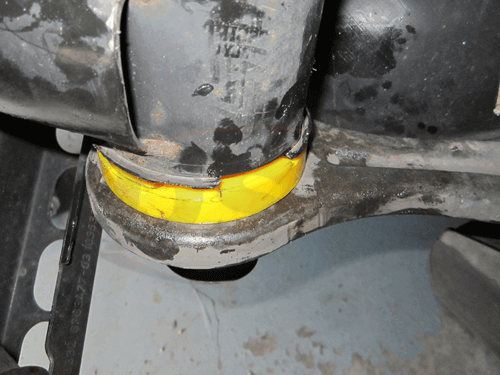
- The bottom front insert is easy to align because there is a "key" that matches with the subframe as seen here, just like the rear bottom inserts (bottom front passenger side subframe insert here):
- Once in, put your front subframe bolts back in, tighten, then put the two 16mm brace bolts back in, and if you removed the plastic reinstall. Go back to the rear subframe bolts and tighten those. Try to keep an eye on the outer exposed lip of the inserts so they do not fold under. I had to use a small flathead to keep the lip from folding under itself on a few spots on the top inserts, both front and back.
- Lower jack, re-torque all your subframe bolts, put your wheels back on, jack the car back off your jackstands, remove jackstands, lower car, and you should be good!
You are done installing Whiteline part KDT918! If you have any questions, please feel free to call our DST customer service team, or click the live chat button.


